It seems I am not having much luck with my laptop lately. Most recently, the monitor stopped working - it is indeed a most sinking feeling to turn on the computer only to see a empty, black screen... Consequently, there will be a pause in the frequency of my posts while I figure out what to do next. I so appreciate all of you who take the time to read my blog and the feedback I receive! I look forward to returning with an upgraded system very soon. Wish me luck in my technological adventure - I'm already feeling overwhelmed at the prospect of having to change everything, but those Apples sure look good...! :)
Thursday, May 31, 2012
Wednesday, May 30, 2012
Doodle Design with Watercolor
I've been inspired by my students' repsonse with a new art lesson on the shelves these days. They have been demonstrating such meticulous work with stunning results! As with the activity seen in THIS POST about a drawn line moving all around a page which starts and ends in the same spot, this lesson also highlights the same concept. During circle time, I showed the children the steps necessary to carry out the lesson, including demonstration of how the line moves to create interesting shapes. Then, watercolors are used to fill in the design created by the "doodle design."


 |
| Materials: Watercolor paper (9x9); tray with varying palettes of watercolors (I just cut them from the trays); tray with jar for pencil and black Sharpie marker; brush; and jar for water. The child chooses one palette of colors, places in on the green tray, and brings the tray to a table. Then, they return to the shelf for a piece of watercolor paper. |
 |
| Once everything is placed at a table, the child fills the jar for water, and writes their name with the pencil on the back of the paper. Now, they are ready to begin the doodle design with the Sharpie marker. Here, the child has just completed their design with the marker and is ready to paint. |
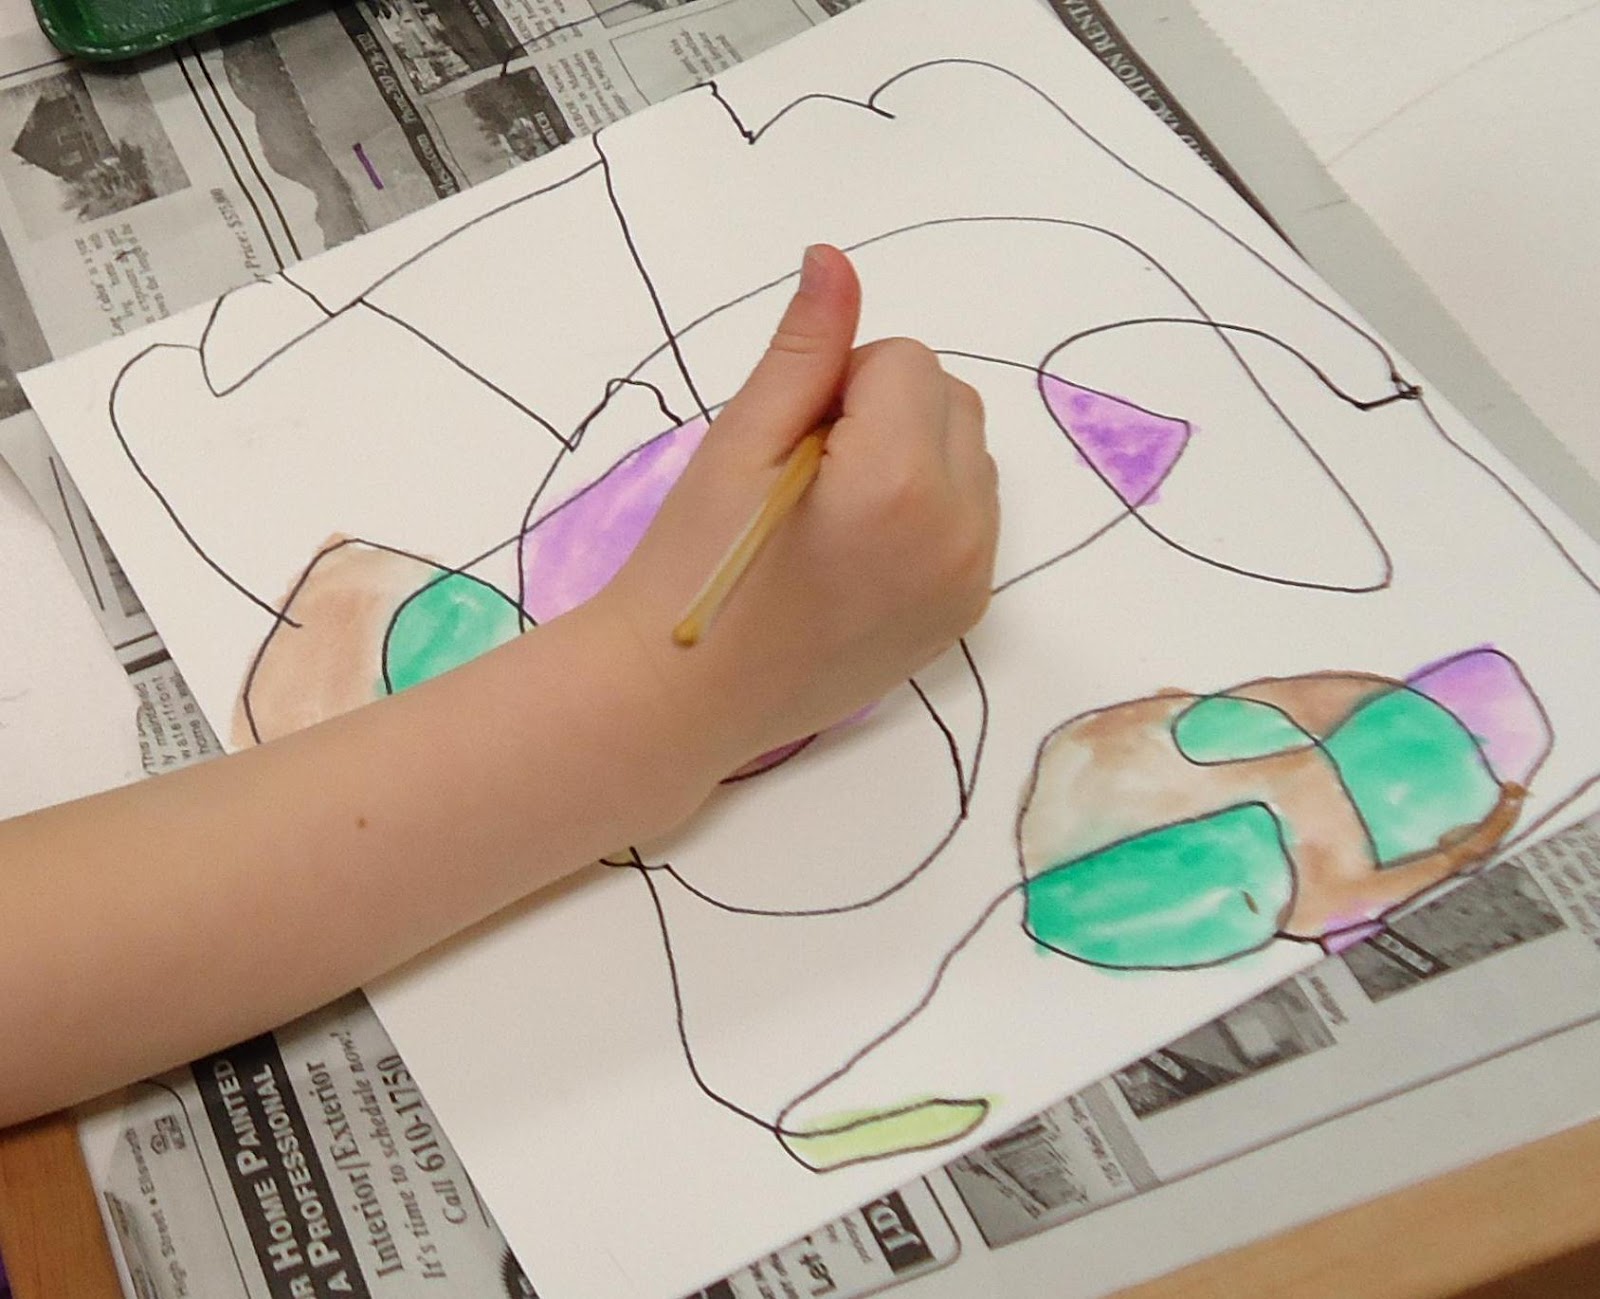 |
| Filling in shapes with watercolor. |
It has been a true joy watching my students work! Here are just a few samples (remember, these are from three, four and five year olds!):


Do you see what I mean about feeling inspired?! :)
Saturday, May 26, 2012
The Pay-Off
That is mostly what I'm feeling these days - all that hard work going into preparing the classroom, the lessons, the materials, the kids.... When I see how they interact in the the classroom environment, learning and building knowledge, how the kids notice and care about the details... I feel it - that sense of awe and wonder of how far my students have come. How rewarding to know that my hard work has made a difference in these children's lives! Thank you, little ones, for giving me the gift of a sense of accomplishment! :)
 |
| Labeling and coloring a Compass Rose. |
 |
| Writing practice: This student completed the Phonetic Object Box 2 and wished to draw the object and write each word. |
 |
| Touch Boards |
 |
| Labeling a collage of the Parts of a Flower. |
 |
| Practicing Puzzle Words with the Small Moveable Alphabet. |
 |
| Numbers 1-10 variation - fish and bubbles! |
 |
| Flower Arranging with Lily of the Valley - so gorgeous! |
 |
| Sewing together at the Tapestree Table. |
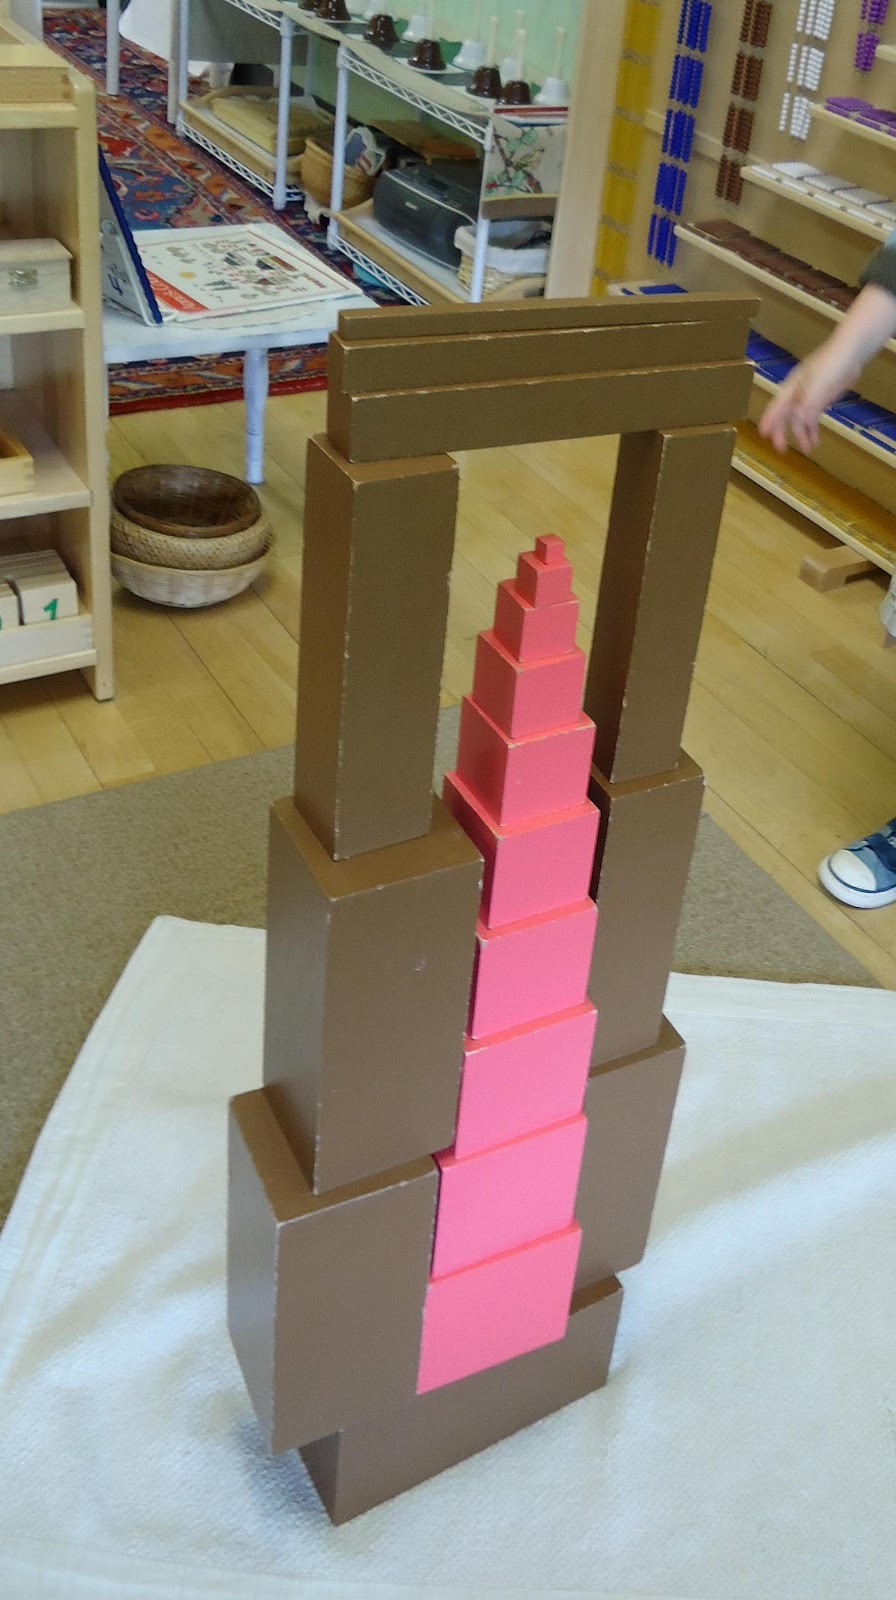 |
| Pink Tower and Brown Stair exploration. |
 |
| Land, Air, and Water sorting pictures. |
 |
| Matching cards to Geometric Solids. |
 |
| Making music with the Melody Harp. |
 |
| Pressing pansies in a flower press. |
 |
| Writing the Days of the Week. |
 |
| Dry erase crayons at the easel. |
 |
| Mystery Bag extension. |
 |
| Math work with the Short chains. |
 |
| WOW! |
 |
| Trinomial Cube. |
Thursday, May 24, 2012
'Tapestree' Table
Those who appreciate sewing might gasp at the fact that this beautiful Tapestree Table has been sitting in my attic, unused for three years (Gasp! I know!). The truth is, I bought it that many years ago with full intentions of introducing it to the students in my classroom as a fun, interactive/social sewing activity. But then, it became one of those, "I never got around to it," type of things and it sat, still in the box, sadly collecting dust for two years. When I finally got around to opening it, I discovered some mismatched parts and could not get the legs to attach properly. To make matters worse, a call to the seller revealed the table is no longer made and a replacement could not be sent. Again, the beauty sat for another summer and almost another school year...until, in a last attempt to fix the problem, I turned to my school's parent community: "Does anyone have any carpentry skills to lend?" Ahh, that's all I had to do! Thankfully, one of the dads of my students offered to help and knew just what was needed. Now, after three years, our Tapestree Table is officially part of the classroom:
There has been a lot of prep work leading up to this activity. Early in the year, learning to thread a needle was introduced, followed by many opportunities to practice sewing on burlap. I look forward to the children's collaborative work with the Tapestree Table and have plans to add decorative beads to the basket so they may thread them in with their sewing.
What a perfect way to spend the last weeks of the school year together! Happy sewing! :)
 |
| Tapestree Table with supply basket underneath. |
 |
| The basket holds yarn, scissors, and small box with two needles (so the children may work in pairs). Depending on interest, I may add another needle... |
What a perfect way to spend the last weeks of the school year together! Happy sewing! :)
Tuesday, May 22, 2012
Compass Rose
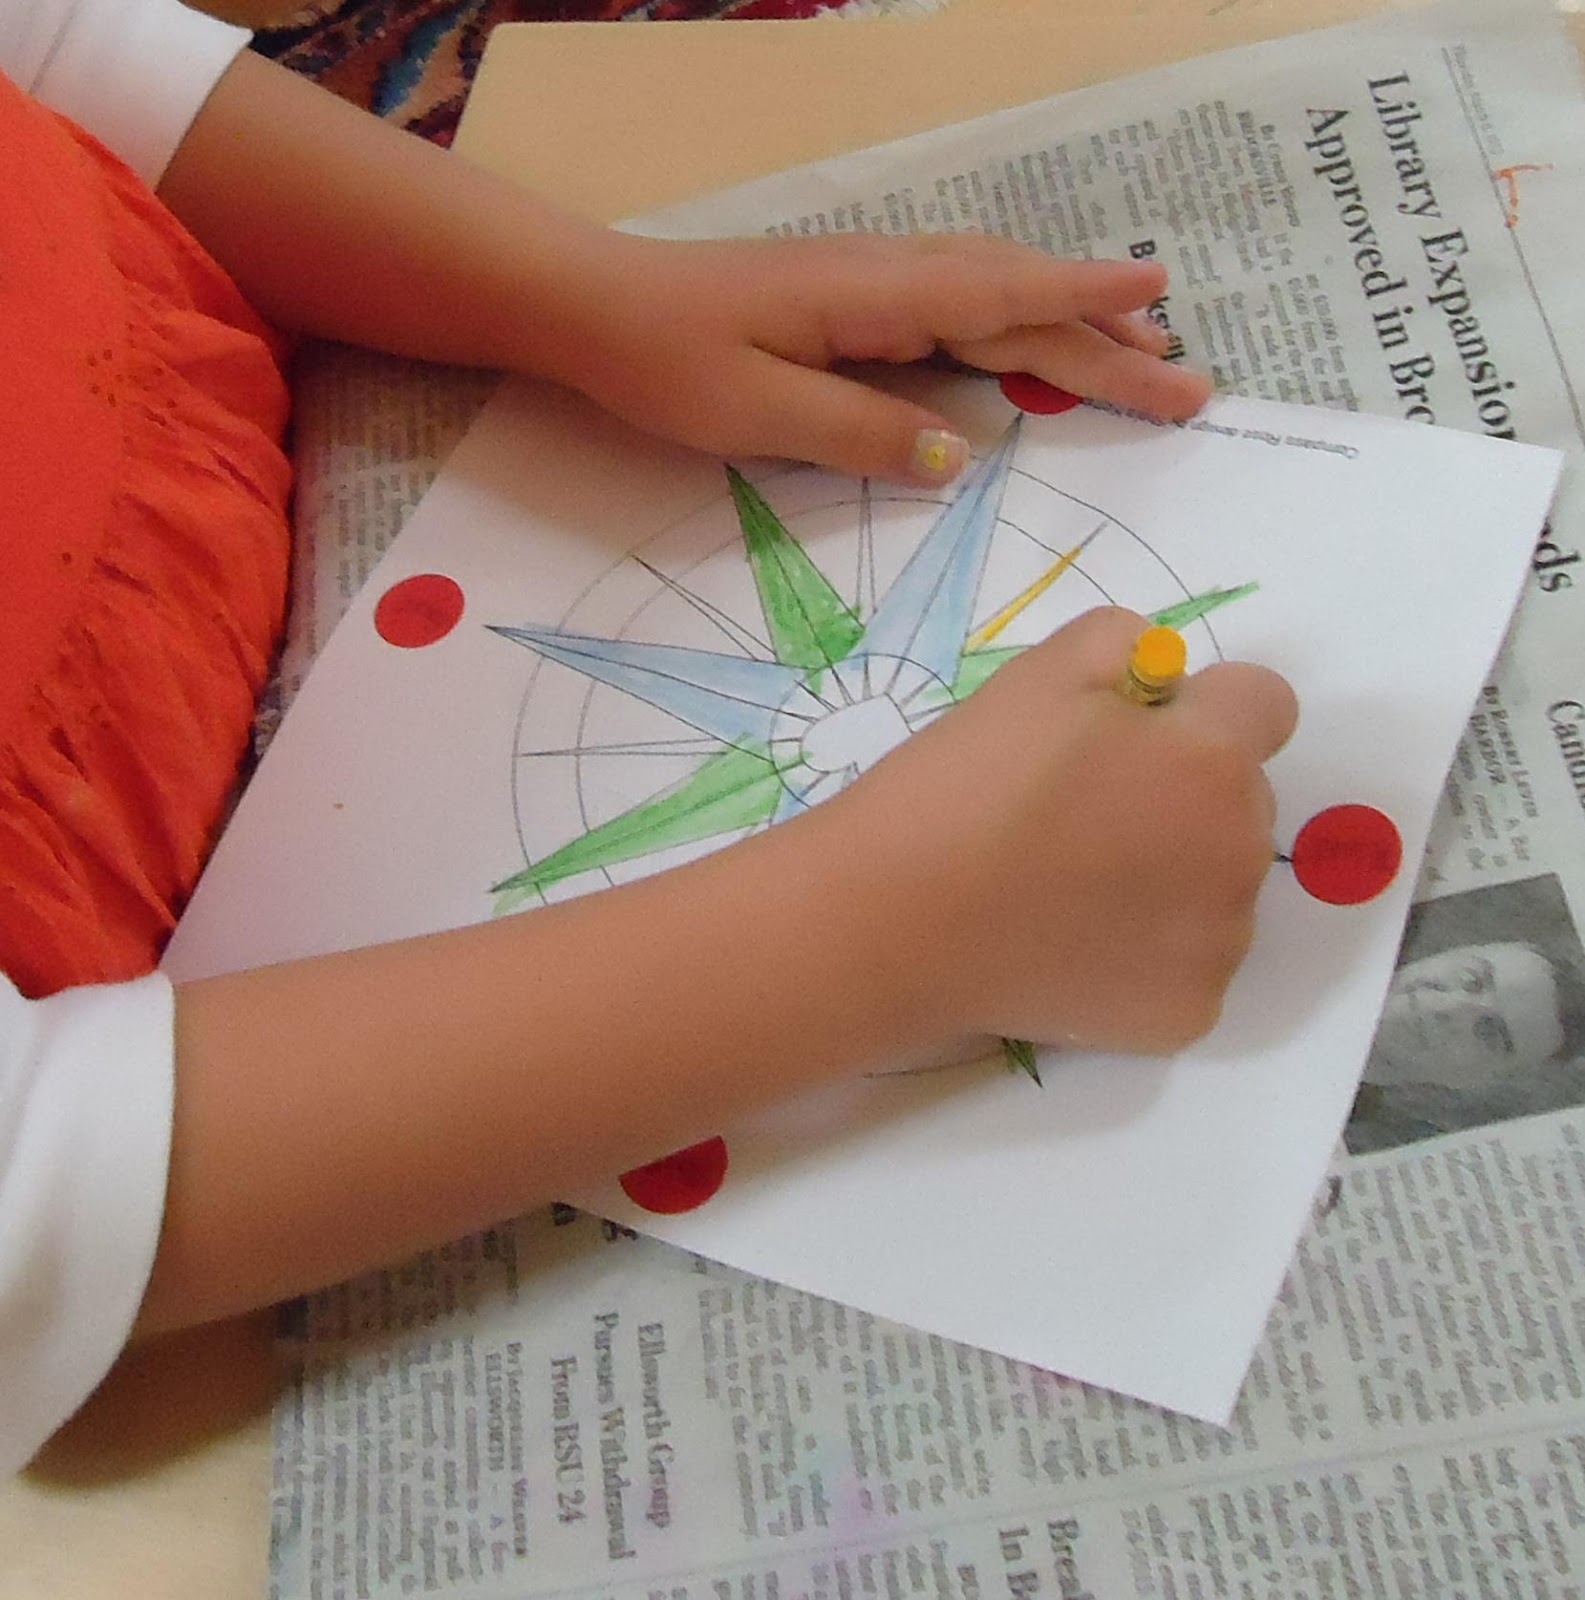
Over the last few weeks, my students have really been interested in geography and maps. Following this interest, we have been learning about directionality and the compass rose. One of the first lessons we had was looking at a compass and labeling our classroom:


This has been quite interesting as we are now using words such as, "Let's go South and open the door to put on our outdoor shoes," or "Oh, the Nature Shelf corner is the North!" The children have also spontaneously integrated this knowledge into their activities:
The children's interest prompted me to put together an additional activity. Knowing that my students really enjoy coloring, I decided to prepare a lesson where they can color and label a compass rose. A quick Internet search led me to an ideal compass rose design at Don't Eat the Paste:

I chose this design because the heart in the middle clearly orients the page while the child is working with it - they can tell if it's upside down if the heart is upside down.
Next, I cut small color-coding stickers into rows of four and wrote North, South, East, and West:
After showing the kids at circle time how to complete the activity, I strategically placed the materials for the lesson at table in the classroom (for use by one child at a time):
The students have not only had fun experimenting with the compass and matching the directions with our classroom labels, but they are also enjoying the calming and centering effect that coloring has:


This has been quite interesting as we are now using words such as, "Let's go South and open the door to put on our outdoor shoes," or "Oh, the Nature Shelf corner is the North!" The children have also spontaneously integrated this knowledge into their activities:
 |
| Making a compass rose with shape blocks. "Look, I made a compass rose!" |
 |
| Drawing a compass rose with oil pastels (which are always available on the art shelf). |

I chose this design because the heart in the middle clearly orients the page while the child is working with it - they can tell if it's upside down if the heart is upside down.
Next, I cut small color-coding stickers into rows of four and wrote North, South, East, and West:
 |
| Compass Rose labels. |
After showing the kids at circle time how to complete the activity, I strategically placed the materials for the lesson at table in the classroom (for use by one child at a time):
 |
| Small tray with pencil, labels, and crayons; tray with coloring pages; tray with compass... |
 |
| ...facing North, of course! :) |


They look fantastic displayed with our Maps of the World!
 |
| Compass Rose work. |
Saturday, May 19, 2012
Back to the Basics
While working in our classroom this week, we have been remembering "the basics!" The kids have really come so far this year, but sometimes we have to remember the little things: rolling up the mats just right so they fit in the basket, leaving our activities ready for the next person to use, making sure we are walking around the mats (rather than hopping over them!), lining up the trays on the edge of the shelf, etc... I started taking the kids on a "Fixing Walk" around our classroom at the end of each morning. This is when we stand in one area of the classroom and fix anything which might be out of place. By the end of the week, I sat in a chair and said to the children, "I'm going to close my eyes and sit in this chair while you go on a 'Fixing Walk.' I'll know when you are done when everyone sits back down and tells me to open my eyes." Well, you would have thought I had a classroom full of little elves the way they scurried about fixing and straightening everything - I couldn't help but peek through my fingers to witness this, of course! ;) What pride the students have in their classroom to take such good care of it! :)
 |
| Sound Cylinders back in use after a hiatus... I find it remarkable how some materials are suddenly picked up after such a long time of inactivity! |
 |
| A small group of children wanted to make a maze using the Brown Stair and Pink Tower, similar to what they have seen with the Red Rods. This picture shows how the children have taken off their shoes and are taking turns walking through their maze. |
 |
| Tweezing practice with pearl beads. |
 |
| Stringing pearl beads - this is a very good challenge for most of the children in the class! |
 |
| We've been discussing directionality and the Compass Rose during our recent geography studies. Here, the student worked creatively with to make his own "compass rose." |
 |
| Teen Beads and Board. |
 |
| Drawing and coloring Pink Tower and Brown stair extension work. |
 |
| Labeling and coloring a compass rose. |
 |
| Drawing a block creation. |
 |
| Linear and skip counting with the Hundred Chain. |
 |
| Easel Monoprint |
 |
| Subtraction Snake Game |
 |
| Visual discrimination of length with the Red Rods. |
 |
| Working with phonograms using Sandpaper Letters, booklets and Small Moveable Alphabets. |
 |
| A weaving exercise. |
 |
| Pink Tower and Brown Stair work. |
 |
| Tracing Sandpaper Letters. |
 |
| Teen Board and Beads |
 |
| Letter writing practice on a chalkboard. |
 |
| Drawing a Compass Rose. |
 |
| Patterns with shapes and colors. |
Subscribe to:
Posts (Atom)