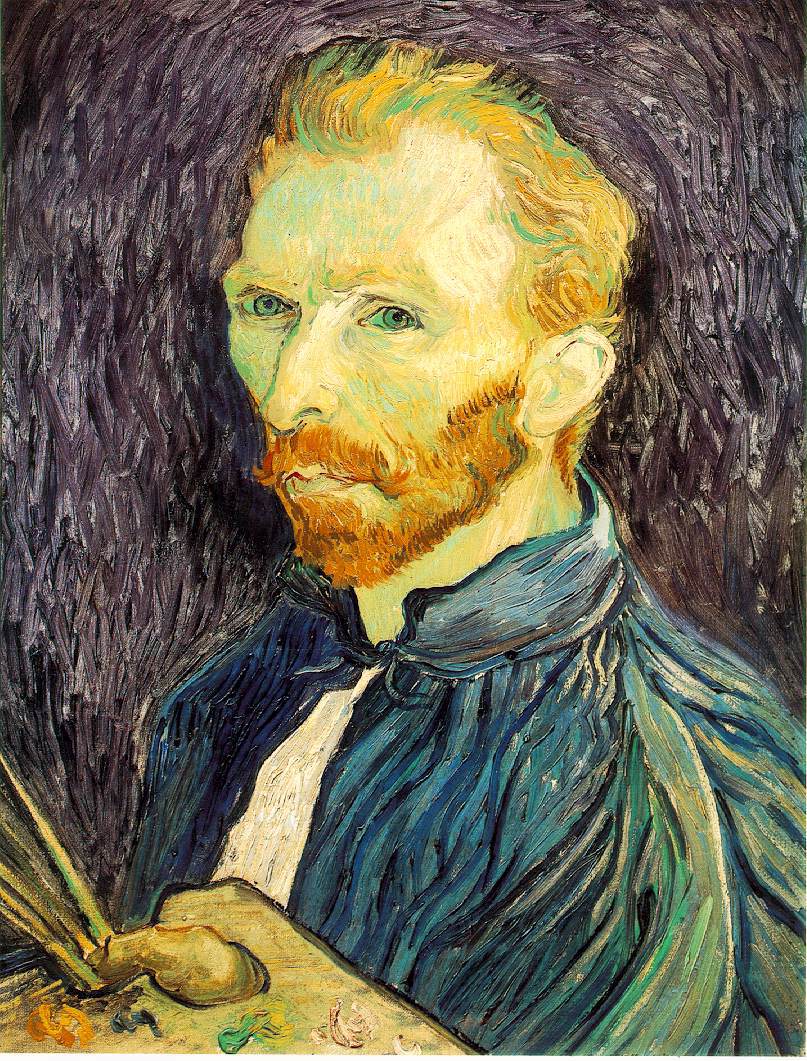
We began our self-portrait lesson with a word-study and talked about the definitions of ‘self’ and ‘portrait.’ Some conclusions made by the children after this discussion:
“It means when an artist makes a picture of themselves.”
“It can be with paint or drawing.”
“It can be with clay.”
Next, we looked at two examples of famous artists’ self portraits and discussed the details:
 |
| Vincent Van Gogh |
 |
| Frieda Kahlo |
The children noticed facial features, hair color, jewelry, and that these portraits included only the face, neck, and shoulders.
Then, the students were introduced to the materials and shown the steps to create their own self-portraits. Using a mirror for reference, the children worked with a quiet intensity to include details of their own unique features in their drawings.
 |
| A mirror, felt tip pen, and paper were the only materials necessary. |
I had asked our Assistant teachers to write down any comments the children made during their portrait making process to have a source of documentation. We noticed, however, a quiet contemplation from the children as they completed their self-portraits. They thoughtfully peered in the mirror, noticed the details of their own images, and carefully added them to their drawings. Here are a few examples:
These
portraits remind as that we can celebrate each other’s uniqueness while being active
members of a community in our collaborative classroom.


I love this! Do you do this with all the children or at about what age do you start this with the children?
ReplyDeleteYes, I did this with all of the children - we had the discussion and demonstration at circle time and then we left the activity on the shelf for the children to complete on their own.
Delete